Wednesday, October 26, 2011

WELCOME TO OUR FAMILY ROOM

When we moved into this house, we did not owned enough furniture to fill up every room.
This is one of the rooms that stayed empty for a long time.
We had our old family room furniture, which we set up in the game room upstairs and we took our time finding everything we wanted for our new space. The old living room set, serves now as a "hanging out" space for my teenage son and his friends. It worked out great! LOL

This is how the family room looked for many month after we moved into our new home


And this is the family room today


My favorite picture in the whole house. It came from Kirklands.


Another view of the room


One of the first things we did was to build the mantle


Love these ceramic pumpkins! Got them at Kohls a couple of years ago


Bought ceramic gas logs for the fireplace.


 This is the material I used for inspiration to design our family room. I always wanted to have pillows that matched the draperies, so I bough an extra panel and made pillows with it for the sofa and the hearth.
Can you tell green is my favorite color? :)


I found this beautiful Fleur de Lis jar set and put one on the coffee table and one on each of the side tables.
The colors were perfect for that room!


 Love these frames from Kirklands!


Also had to have another metal box. I am hooked on them!

Since our family room and kitchen are all open space, I carried these colors into the eating area and kitchen, to make it all flow together. 
I don't know if I will ever be done with this room. I still want a small table and lamp next to the single chair and some wall decor for either side of the fireplace. Still looking for the right pieces.


Hope you are having a great day!


Linking to:


Tuesday, October 25, 2011

DIY STAIRWELL MOLDING

By now, you know we love molding around here. LOL
What a difference this project made!
We did this upgrade to our stairwell during our summer vacation time. It was very time consuming and it took us the better part of a week, but it sure was worth it.
We looked at many inspiration pictures and this is what we came up with.

This is the stairwell


We painted he bottom half of the wall Latte by SW to match the living room and dinning room area, added a thick chair rail molding and we built and attached the molding squares.


This small area on the wall, going up the stairs was very hard to decorate, so I added a wall expression and then stenciled some design around it.


Also, I added a small table and some red and gold decor items to give that space a little color.


My babies when they were little and a cute clock I found at Kirklands


The small red flowers on the vase are the same flowers on the picture .


This is what it looks like today


 This is a project anyone can do. It is not hard, just very time consuming.
Next project, taking the carpet off the steps and replacing it with hardwood.
Thank you for coming to visit and have a great week!

Monday, October 24, 2011

DIY CHRISTMAS PILLOWS

Every year, the holidays seem to come faster and faster. This year, I am starting to plan early enough, so I can get all my projects done and take my time doing it.
I love to always decorate our back porch for the holidays. We live in Texas, so the weather here allows us to enjoy our outdoor space even during the winter months.
I still had a bunch of canvas material left from the porch curtains, so I made these pillows to put on my bench and, on our chairs on the back porch dinning table. I will be mixing them with some red pillows I already had and some other holiday items.

This is the pillow for the bench.


These are the ones that will go on our chairs with two more solid red pillows.


Close up


All finished!


Items used for this project
Canvas material


Craft paints


Stencils


Poly-Fil


Ready to close up the pillow. I used hem tape for all of them. Best invention ever! No sewing!


Here they are, all done!


Can't wait to put it all together!
Thanks for visiting!

Thursday, October 20, 2011

ENTRYWAY MOLDING

Adding molding to any living space can sure make a difference.
My husband and I have done several projects around the house with molding, to give our home a more finished look.
Looking through some inspirations pictures one day, I came across an entryway that was almost identical to mine, but had a beautiful wood molding around it and I knew we had to do this!
I emailed the owner of that beautiful entryway and she was gracious enough to send me a bunch of pictures to help my husband built the same door molding in our home. Her name is Tami and she is a wonderful and helpful person. She is also a blogger! Her blog, Curb alert! is such a breath of fresh air!
Please, pay her a visit.
http://tamicurbalert.blogspot.com/
We did this project at the beginning of this year. Come take a look!

This is how our front door looked like before.
I always wanted to add some decor on top of the door, by the arched window, but there was not enough space to do much.


This is after!


My husband built all the moldings himself. Nothing was store bought.


Also added some small 2" wood blinds on the windows on each side of the door for a little more privacy.


Hope you like it! The whole project took us about a month to finish it, just working on it on the weekends but now the door looks so dressed up! LOL And plenty of shelving space to decorate!


Now, we are in the process of building a beautiful hall table that will be placed under the Tuscan painting.
More to come soon!


Thank you again to Tami! This project would of never happened without her generosity.
Please, come back and visit!


Tuesday, October 18, 2011

SENTIMENT BOX

I am one of those sentimental people that like to keep everything that has any meaning to me and I hope, one day, it will mean something to my children and grandchildren.

I still have all the letters that my husband and I wrote to each other 30 years ago when he joined the military and he left for boot camp.

For many years after we were married, every time the military moved us to a new duty station, I carried my letters in a shoe box. LOL
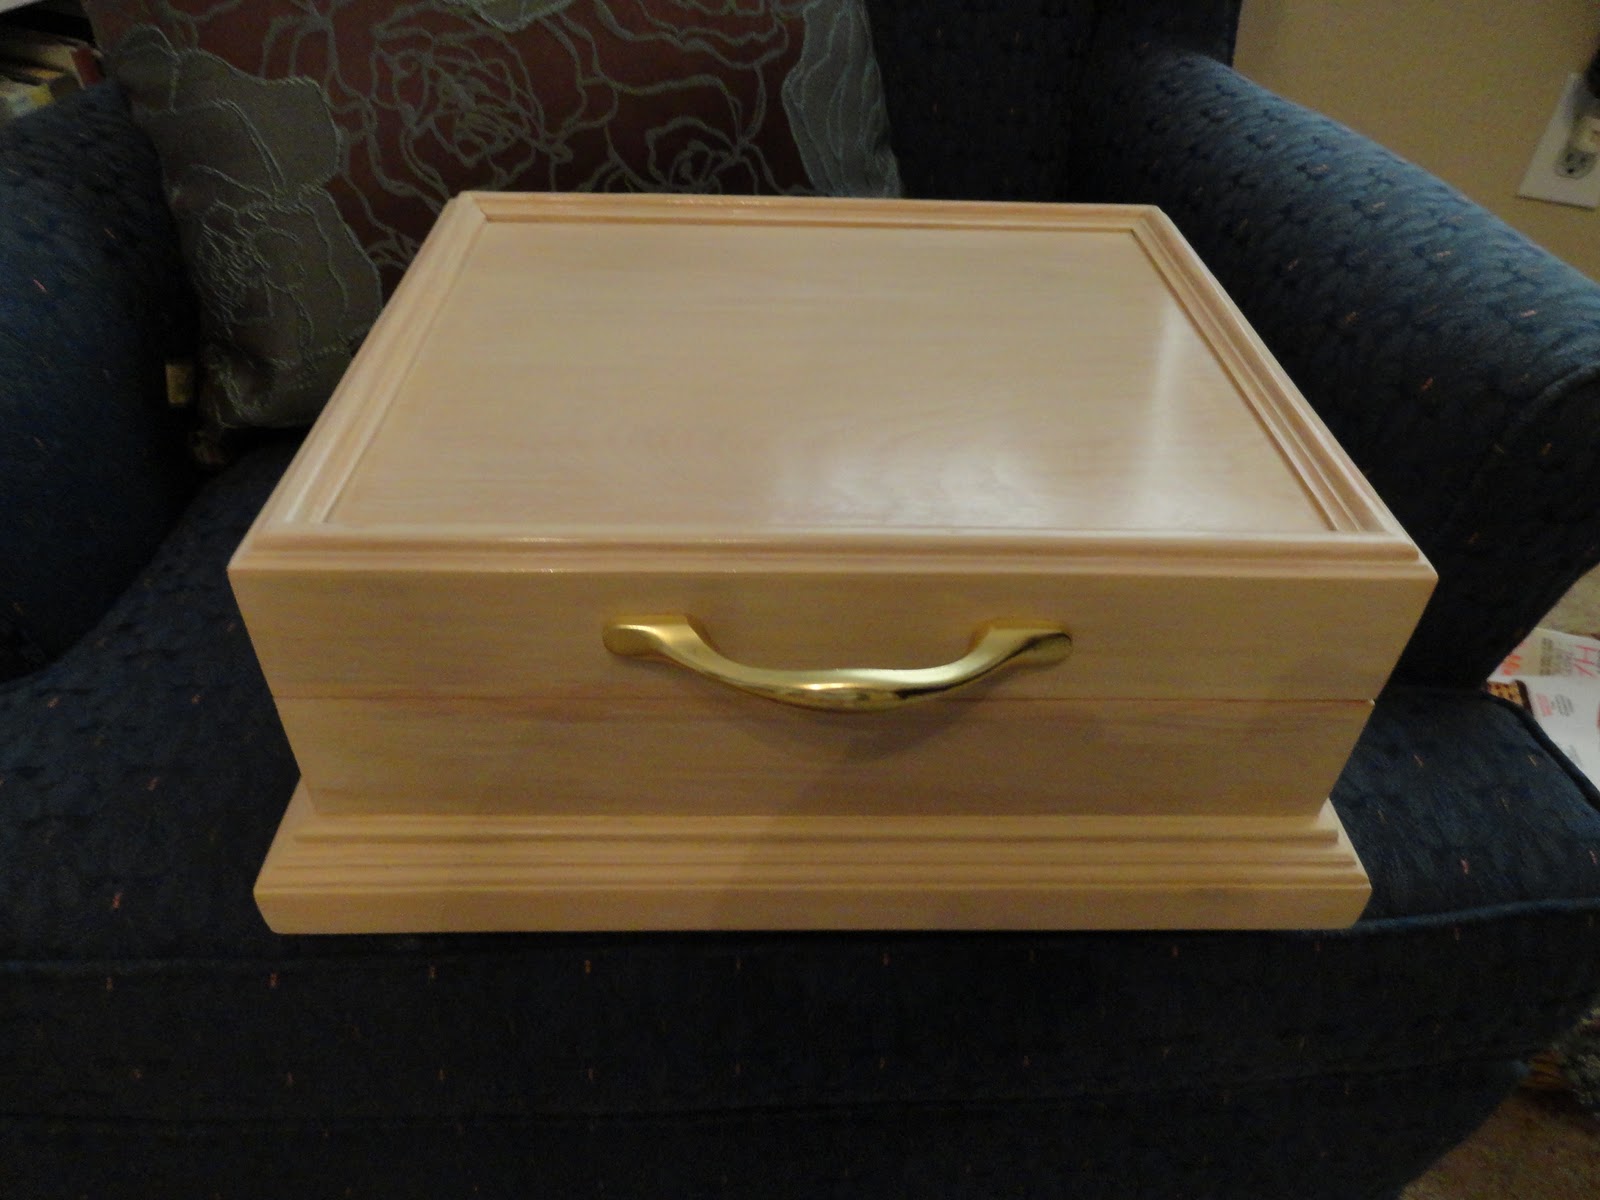
My husband finally felt sorry for me and he built this box to store my precious letters.
Boy, was I happy!!! No more shoebox! LOL

It was just a simple, wooden box and a few months ago, when I did our bedroom remodel, I decided to make it a little more appealing to the eye.
I went to Michaels and got some rub ons and a few other litle things and this is what I came up with.


This the the box the way it has looked for many years


This is what it looks like now.


Putting my letters in my new decorated box


It was such a long time ago!


Thank you for visiting my blog!
Big hug
Maria

Linked to:


Related Posts Plugin for WordPress, Blogger...